DIY Wall Renovations
Getting Your Walls Ready
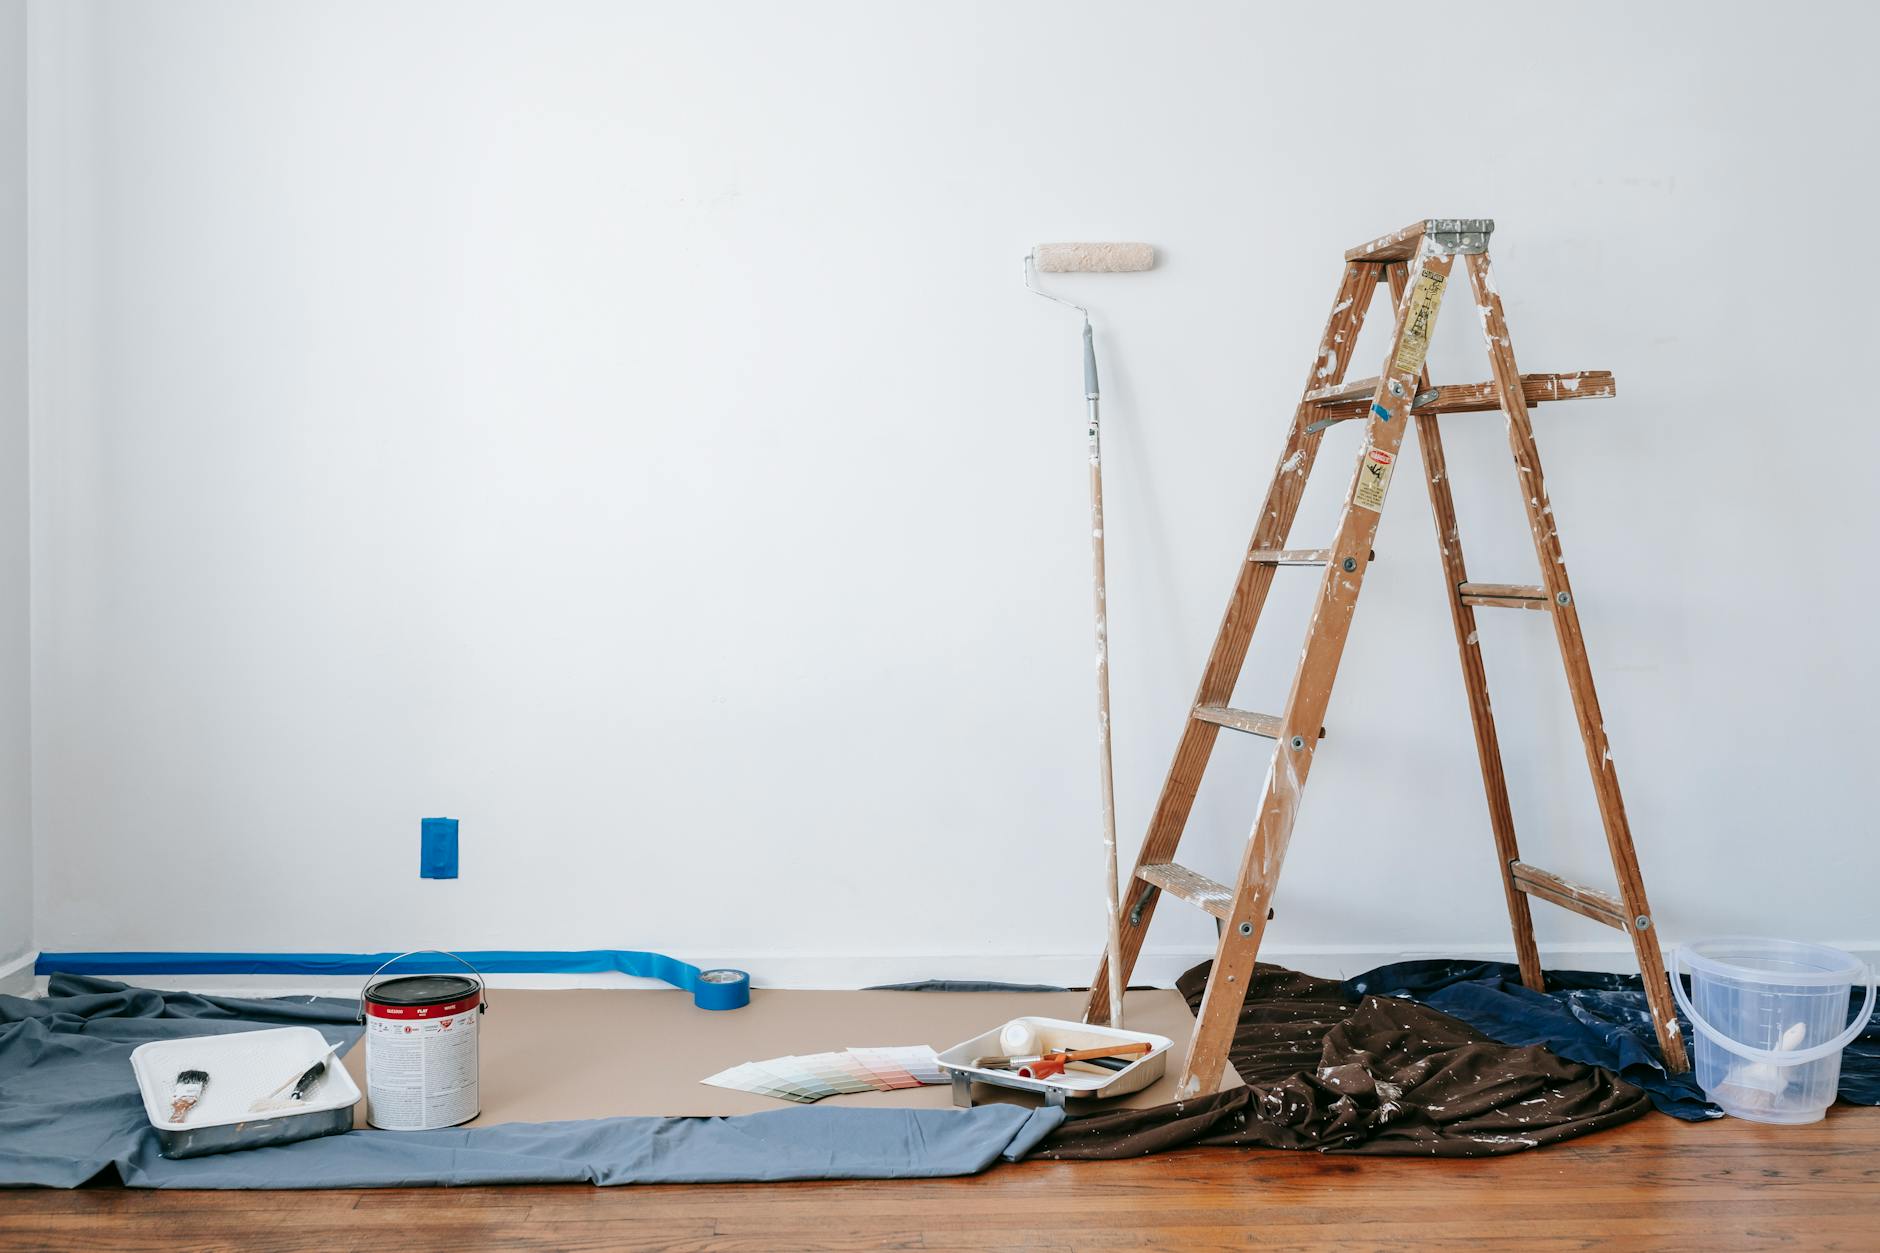
Before you jump into your DIY wall renovations, you gotta prep those walls right. First things first, strip off any old wallpaper or paint. You can use a wallpaper steamer or a paint scraper for this. Then, sand the surface to make it smooth. Fill any cracks or holes with spackling compound to get an even surface.
Steps to Prep Your Walls:
- Remove old wallpaper or paint.
- Sand the surface to smooth out bumps.
- Fill cracks and holes with spackling compound.
- Let the compound dry completely.
- Sand again for a smooth finish.
Must-Have Tools
The right tools can make your DIY wall renovation a piece of cake. Here’s what you’ll need:
| Tool | What It’s For |
|---|---|
| Drywall Saw | Cutting drywall or removing damaged sections |
| Screwdriver | Tightening or removing screws |
| Hammer | Nailing and general construction tasks |
| Measuring Tape | Getting accurate measurements |
| Level | Making sure surfaces are straight and even |
| Joint Compound | Filling cracks and holes |
| Screws | Securing drywall or other materials |
| Wire Mesh | Reinforcing areas that need extra support |
| Paint or Wallpaper | The final touch |
Having these tools handy will make sure you’re ready to tackle your wall renovation project.
For tips on decluttering and managing waste during your renovation, check out our diy decluttering tips and diy decluttering checklist. If you’re on a budget, visit our guide on budget-friendly home renovations.
Renovating your walls can be a fun and rewarding project. With the right prep and tools, you can get amazing results. For more inspiration and ideas, explore our diy home renovation blogs and diy home renovation ideas.
Picking the Perfect Materials
Starting a DIY wall renovation project? Picking the right materials is a game-changer. This guide will help you juggle cost and quality while keeping your local climate in mind.
Balancing Cost and Quality
You want materials that won’t break the bank but also won’t fall apart in a year (Family Handyman). Sure, the cheapest option might look tempting, but spending a bit more on quality can save you from constant repairs and replacements.
Here’s a quick look at some common building materials and how they stack up in terms of cost and quality:
| Material | Cost (AUD) per sqm | Quality Rating |
|---|---|---|
| Gypsum Board | $10 – $20 | Medium |
| Plywood | $20 – $30 | High |
| MDF | $15 – $25 | Medium |
| Fibre Cement | $25 – $40 | High |
When you’re thinking about cost, don’t forget to consider how easy it is to get the materials and how long it’ll take. Going local can cut down on delivery fees and help out your community.
For more money-saving tips, check out our article on diy home renovation costs.
Thinking About Climate
The weather where you live matters a lot when picking materials (Family Handyman). In Australia, the climate can be all over the place, so you need stuff that can handle your local conditions.
If you’re in a humid area, go for moisture-resistant materials like fibre cement or treated plywood. In dry places, materials with good insulation, like gypsum board, are better.
| Climate Type | Recommended Material | Why? |
|---|---|---|
| Humid | Fibre Cement | Keeps moisture out |
| Dry | Gypsum Board | Great insulation |
| Coastal | Marine Plywood | Stands up to salt |
| Tropical | Treated Wood | Handles high humidity |
Picking the right materials is a must for any DIY wall renovation. For more home improvement ideas, check out our articles on diy bathroom renovations and diy kitchen renovations.
Sustainable Building Options
Thinking about sprucing up your walls? Why not go green while you’re at it? Choosing sustainable materials for your DIY wall renovations can make a big difference for the planet. Let’s check out some eco-friendly choices and see how they can shrink your carbon footprint.
Eco-Friendly Material Choices
Going green with your DIY projects starts with picking the right materials. Here are some top-notch sustainable options:
- Sustainable Insulation: Think sheep’s wool, cotton, and cellulose. These materials keep your home cozy and are kind to the environment.
- Salvaged Building Materials: Reclaimed wood, bricks, and other materials cut down on waste and save resources.
- Mass Timber Products: Cross-Laminated Timber (CLT) and Glued Laminated Timber (Glulam) come from sustainably managed forests and are super strong.
- Recycled Roofing Shingles: Made from recycled stuff, these shingles are tough and keep junk out of landfills.
| Material Type | Benefits |
|---|---|
| Sustainable Insulation | Cuts energy use, biodegradable |
| Salvaged Materials | Reduces waste, budget-friendly |
| Mass Timber Products | Sustainable, sturdy, and flexible |
| Recycled Roofing Shingles | Long-lasting, eco-friendly |
For more green ideas, check out our budget-friendly home renovations page.
Impact on Carbon Footprint
Your material choices can seriously affect your carbon footprint. Sustainable materials usually have lower embodied energy, meaning it takes less energy to make and move them. Here’s how you can cut down on your carbon footprint:
- Local Sourcing: Buy from local suppliers to slash transport emissions.
- Recycling and Reusing: Use recycled or upcycled materials in your projects.
- Efficient Waste Management: Dispose of and recycle renovation waste properly. For tips, check out best practices for taking care of home renovation wastes.
| Action | Impact on Carbon Footprint |
|---|---|
| Local Sourcing | Cuts transport emissions |
| Recycling and Reusing | Reduces waste, lowers demand for new materials |
| Efficient Waste Management | Less landfill waste, more recycling |
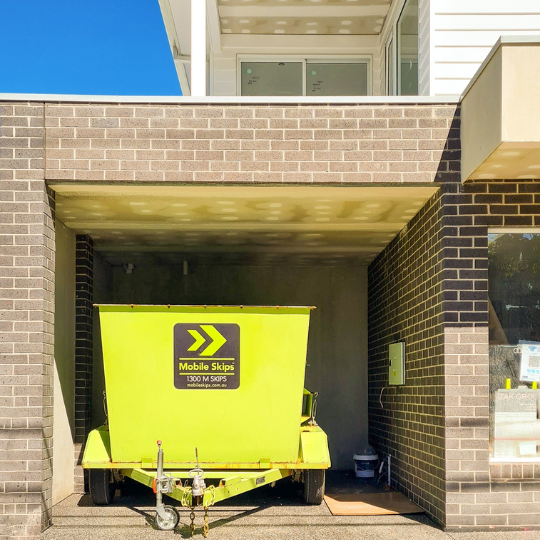
Plus, companies like Mobile Skips are teaming up with Carbon Neutral to plant a tree for every rubbish collection booked online, helping to offset emissions at no extra cost to you.
For more tips on making your space eco-friendly, visit our diy home renovation blogs and minimalist home renovations sections.
Step-by-Step Wall Renovation
Ditching the Old Look
First things first, let’s get rid of that old wallpaper or paint. Grab a scraper to peel off the wallpaper or use a paint stripper for the paint. Make sure you clean up any leftover bits and pieces. Once that’s done, sand the wall to make it smooth and ready for the next steps (Woodsmith).
Must-Have Tools:
- Scraper
- Paint stripper
- Sandpaper
Fixing and Smoothing the Wall
Now that the old stuff is gone, check your walls for any cracks or holes. Use a spackling compound to fill them in. Spread it with a putty knife and smooth it out. Once it dries, sand it down to get a smooth surface. This is key for a polished finish when you start painting or wallpapering (Woodsmith).
Must-Have Tools:
- Spackling compound
- Putty knife
- Sandpaper
Painting or Wallpapering
With your walls prepped and smooth, it’s time for the fun part: painting or wallpapering. Pick a paint color or wallpaper design that fits your style. If you’re painting, use a roller for big areas and a brush for the edges. For wallpaper, follow the instructions to avoid bubbles. Both options will give your room a fresh look.
Must-Have Tools:
- Paint roller and brush
- Wallpaper adhesive
- Wallpaper smoother
| Step | Tools Needed |
|---|---|
| Ditching the Old Look | Scraper, Paint Stripper, Sandpaper |
| Fixing and Smoothing the Wall | Spackling Compound, Putty Knife, Sandpaper |
| Painting or Wallpapering | Paint Roller, Brush, Wallpaper Adhesive, Wallpaper Smoother |
For more ideas on DIY home improvement projects and tips on DIY home renovation on a budget, check out our other articles. If you’re looking for inspiration, explore our diy home renovation ideas.
Fresh DIY Wall Upgrades
Ready to give your walls a makeover? Here are some fun and easy DIY wall upgrades that’ll make your home pop.
Plywood Strip Accent Walls
Plywood strip accent walls are a budget-friendly way to add some flair to any room. All you need are three sheets of plywood, cut into 2″ strips, and nailed to the walls every 16″. The result? A classy, rustic vibe that brightens up the space.
What You Need:
- 3 Plywood Sheets
- Paint (Walmart’s Colorplace Grab-N-Go Interior Satin in White)
- Nails
- Paint Brush
- Roller
How to Do It:
- Cut the plywood into 2″ strips.
- Nail the strips to the wall every 16″.
- Paint the sides of the strips with a brush.
- Use a roller to paint the rest of the wall.
This simple project works wonders in any room, even bedrooms. For more budget-friendly home upgrades, check out our budget-friendly home renovations.
Creative Room Transformations
Turn a boring room into something special with these creative ideas:
Chalkboard Wall
Perfect for kitchens, home offices, or kids’ rooms, a chalkboard wall lets you write notes, draw, or create art right on the wall.
| Material | Cost (AUD) |
|---|---|
| Chalkboard Paint (1 Litre) | $30 |
| Paint Roller | $10 |
Gallery Wall
Show off your style and memories by arranging framed photos, artwork, and decorative items on a gallery wall.
| Material | Cost (AUD) |
|---|---|
| Frames (Set of 10) | $50 |
| Wall Hooks | $10 |
Vertical Garden
Add some greenery with a vertical garden. Use hanging planters or wall-mounted shelves to create a stunning focal point.
| Material | Cost (AUD) |
|---|---|
| Hanging Planters (Set of 5) | $40 |
| Potting Soil | $15 |
For more DIY home improvement projects, visit our diy home improvement projects section for creative ideas to transform your space.
Remember, safety first! Always use personal protective gear and handle tools properly. For more tips, check out our home renovation tips.
Safety Tips for DIY Renovations
When you’re getting your hands dirty with DIY wall renovations, safety should be your top priority. Whether you’re a pro or just starting out, taking the right steps can keep you injury-free and your project on track.
Gear Up with Personal Protective Equipment
Wearing the right gear can make a world of difference. Depending on what you’re doing, you might need:
- Respirators: Keep your lungs safe from dust and chemicals.
- Chemical-Resistant Gloves: Perfect for handling paints, solvents, and adhesives.
- Safety Glasses: Protect your eyes from debris and splashes.
- Noise-Reducing Ear Muffs: Essential when using loud power tools.
- Protective Headgear: Guard against falling objects.
- Thick Gloves: For handling sharp or rough materials.
For more detailed safety tips, check out This Old House.
| Task | Recommended PPE |
|---|---|
| Sanding Walls | Respirator, Safety Glasses |
| Painting | Chemical-Resistant Gloves, Respirator |
| Demolition | Protective Headgear, Thick Gloves |
| Using Power Tools | Noise-Reducing Ear Muffs, Safety Glasses |
Handle Tools Like a Pro
Using tools the right way is key to avoiding injuries. Both hand tools and power tools can be risky if misused. Here are some tips:
- Sharp Blades Are Safer: Dull blades need more force, which can lead to slips and injuries. Keep your cutting tools sharp (This Old House).
- Use the Right Tool for the Job: Using the wrong tool is a recipe for accidents. Make sure you have the right tool for each task.
- Read the Manual: Get to know any new tools before you use them.
For a full list of tools you’ll need for DIY renovations, check out our guide on diy home renovation tools.
Stay Safe with These Tips
Preventing injuries goes beyond just wearing PPE and handling tools properly. Here are some extra tips to keep you safe:
- Set Up a Containment Area: Use plastic sheeting and HEPA tools to keep dust in check.
- Stay Organized: A tidy workspace helps you avoid trips and falls.
- Take Breaks: Tiredness can lead to mistakes. Regular breaks keep you sharp and focused.
For more advice on safe DIY practices, visit our articles on diy home improvement projects and diy home renovation ideas.
By following these safety tips, you can tackle your diy wall renovations with confidence and keep accidents at bay. Happy renovating!

