Renovating Your Home
DIY Flooring Renovations
Taking on a DIY flooring project can be a blast and save you some serious cash. Whether you’re jazzing up the living room or giving the bedroom a fresh vibe, a slick flooring job can totally change the feel of your home.
First things first, you gotta prep right. Gather your tools, check out the space, and make sure the subfloor is ready to go (Arko Flooring). Accurate measurements are a must, and don’t forget to let the flooring material get used to your home’s climate.
When planning the layout, think about the direction of the planks or tiles, any patterns you want, and leave a tiny gap around the edges for expansion. These little details will make your floor look top-notch.
| Key Steps | Description |
|---|---|
| Preparation | Gather tools, assess space, prepare subfloor |
| Measuring | Accurate measurements are essential |
| Acclimating | Let flooring adjust to room temperature and humidity |
| Layout Planning | Consider direction, patterns, and expansion gaps |
For a step-by-step guide on installing different types of flooring like laminate, hardwood, luxury vinyl, tile, and carpet, check out our article on diy home renovation tools.
Planning Your Project
Good planning is the secret sauce to a successful DIY flooring job. Start by setting a budget that won’t break the bank. This helps you figure out what kind of flooring you can swing and keeps any nasty surprises at bay.
Next, whip up a timeline. Depending on the size of the room and the type of flooring, the job could take a day or stretch over several days (Today). Click-together floors are usually quicker than nail-down ones.
When ordering materials, add an extra 10-20% to your total square footage to cover any waste from cutting and fitting (Arko Flooring).
| Planning Element | Recommendation |
|---|---|
| Budget | Set a realistic budget |
| Timeline | Create a project timeline |
| Materials | Order 10-20% extra for waste |
For more tips on planning and budgeting, visit our guide on diy home renovation on a budget.
Once your budget and timeline are sorted, gather all the tools and materials you’ll need. Depending on the flooring type, you might need a saw, measuring tape, and adhesive. Make sure you’ve got everything before you start. For a full list, see our article on diy home renovation tools.
By planning and prepping well, you’ll set yourself up for a DIY flooring project that not only looks great but also boosts your home’s value. For more inspiration and ideas, check out our diy home renovation blogs.
Waste Management Tips
When you’re diving into DIY flooring renovations, managing waste right is a game-changer. Keeping your space clean and green is not just about aesthetics—it’s about doing your bit for the planet. Here’s how you can handle waste like a pro.
Keep It Green: Waste Removal
Handling waste responsibly is a must for any DIY project. Here’s how to make sure your waste removal is eco-friendly:
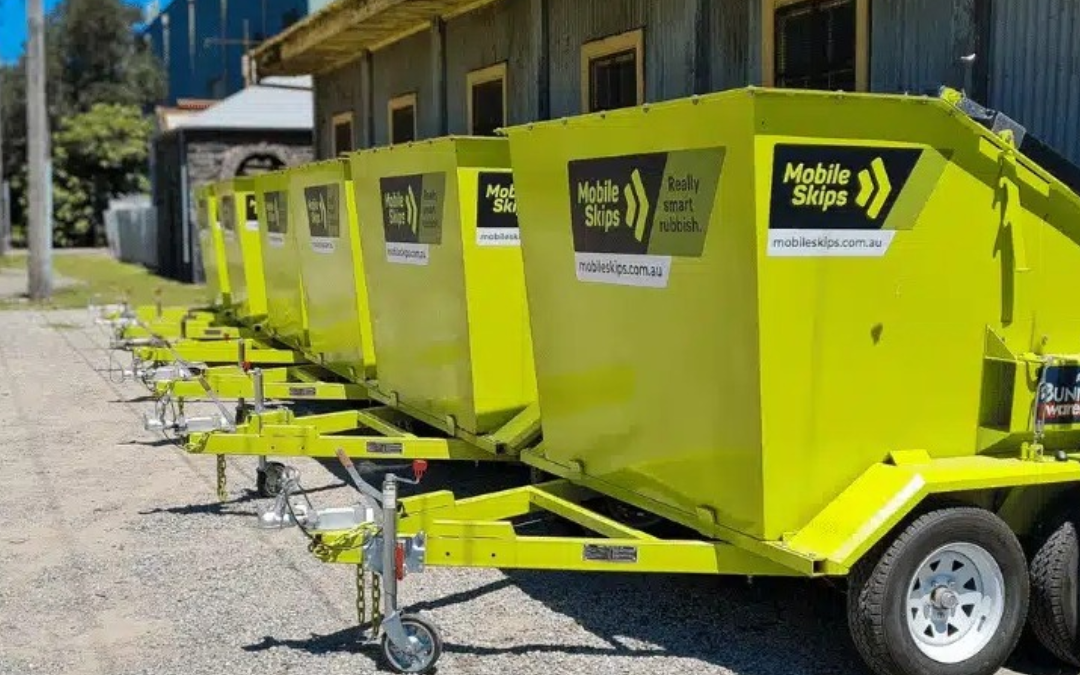
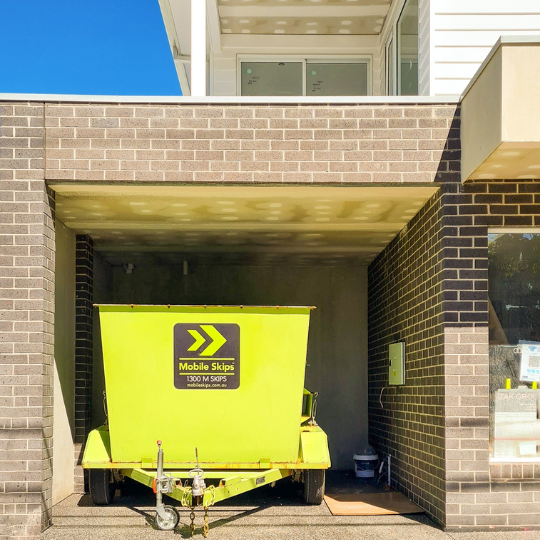
- Rent a Mini Skip: A mini skip is your best friend for managing waste. These come in different sizes, perfect for home projects. Just make sure the company you choose is eco-conscious.
- Sort It Out: Separate your waste into recyclables, non-recyclables, and hazardous stuff. This makes disposal easier and kinder to the environment.
- Compost Organic Waste: Got garden or organic waste? Compost it! This cuts down on landfill use and gives you rich compost for your garden.
- Dispose of Hazardous Materials Properly: Things like paint and batteries need to go to special facilities to avoid harming the environment.
| Waste Type | Disposal Method |
|---|---|
| Organic Waste | Composting |
| Recyclable Waste | Recycling Bins |
| Non-recyclable Waste | Mini Skips |
| Hazardous Materials | Special Facilities |
For more on eco-friendly waste management, check out DIY decluttering tips.
Smart Recycling Moves
Recycling is a big part of waste management in any renovation. It cuts down on waste and saves resources. Here are some recycling tips:
- Repurpose Old Stuff: Before you toss out old flooring, think about repurposing it. Wooden planks can become cool DIY furniture or garden beds.
- Donate Usable Items: Got tiles or carpets in good shape? Donate them to local charities or community centers.
- Use Local Recycling Services: Many local councils offer recycling services for renovation waste. Check with your local authority for what’s available.
| Material | Recycling Option |
|---|---|
| Wood | Repurpose or Donate |
| Metal | Local Recycling Centre |
| Plastic | Recycling Bins |
| Glass | Local Recycling Centre |
For more ideas, see DIY decluttering hacks and DIY decluttering methods.
By following these eco-friendly waste removal and recycling tips, your DIY flooring renovations will be both successful and sustainable.
Picking the Perfect Flooring
Choosing the right flooring for your home can be a game-changer. Let’s break down some popular options and what you need to know before making a decision.
Popular Flooring Choices
Laminate Flooring
Laminate flooring is like the cool cousin of hardwood. It looks similar but costs way less. Made from layers of composite wood, it’s tough against scratches, stains, and fading. Plus, it’s a breeze to install yourself.
| Feature | Description |
|---|---|
| Cost | 1/3 to 1/2 the price of hardwood |
| Durability | Scratch, stain, and fade-resistant |
| Installation | DIY-friendly |
Tile Flooring
Tile flooring comes in all shapes and sizes, from budget-friendly ceramic to fancy natural stone. Ceramic tiles are easy to clean and durable, perfect for bathrooms and kitchens. Natural stone tiles look stunning but need sealing to avoid chips and stains (Elle Decor).
| Feature | Ceramic Tiles | Natural Stone Tiles |
|---|---|---|
| Cost | Affordable | High-end |
| Durability | Easy to clean, wear-resistant | Needs sealing, can chip and stain |
| Installation | Moderate | Best with professional help |
Cork Flooring
Cork flooring is like walking on a cloud. It’s soft, comfy, and eco-friendly. It absorbs sound better than hardwood and comes in various colors and styles. Plus, it’s easy on the wallet (Elle Decor).
| Feature | Description |
|---|---|
| Comfort | Soft and comfy |
| Sound Absorption | Excellent |
| Sustainability | Eco-friendly |
| Availability | Multiple colors and formats |
Vinyl Flooring
Vinyl flooring is the rising star in the flooring world. From cheap peel-and-stick tiles to luxury vinyl tile (LVT) with high-def designs, there’s something for everyone. It’s durable and often DIY-friendly (Good Housekeeping).
| Feature | Description |
|---|---|
| Cost | Ranges from cheap to luxury |
| Durability | Super durable |
| Installation | DIY options available |
Things to Think About
When picking flooring, keep these factors in mind:
-
Comfort: Cork and vinyl are soft underfoot, unlike hard materials like stone and porcelain (Good Housekeeping).
-
Maintenance: How easy is it to clean? Ceramic tiles and laminate are low-maintenance champs.
-
Health/Sustainability: Eco-friendly options like cork are good for the planet and your home.
-
Cost: Your budget matters. Laminate and vinyl are wallet-friendly, while natural stone can be pricey.
| Factor | Laminate | Tile | Cork | Vinyl |
|---|---|---|---|---|
| Comfort | Moderate | Low (Ceramic), Moderate (Natural Stone) | High | High |
| Maintenance | Easy | Easy (Ceramic), Moderate (Natural Stone) | Moderate | Easy |
| Sustainability | Moderate | Moderate | High | Moderate |
| Cost | Low to Moderate | Varies | Moderate | Varies |
For more tips on home renovations and DIY projects, check out our other articles.
Getting Ready for Installation
So, you’re ready to tackle that DIY flooring project? Awesome! But before you dive in, let’s make sure you’re set up for success. It all starts with checking out your subfloor and gathering the right tools and materials.
Check Your Subfloor
Before you lay down that new flooring, give your subfloor a good once-over. Skipping this step can lead to headaches and costly fixes later on. Here’s what to watch for:
- Moisture: Water is your floor’s worst enemy. Make sure the subfloor is bone dry.
- Unevenness: A wavy subfloor means a wavy floor. Use a level to spot any dips or bumps and smooth them out.
- Structural Damage: Fix any cracks or holes now to avoid bigger problems later.
Taking the time to prep your subfloor can save you a ton of hassle and ensure your new floor looks and performs great.
Tools and Materials You’ll Need
Got your subfloor sorted? Great! Now, let’s talk tools and materials. Here’s your shopping list:
- Tape Measure: For getting those precise room and material measurements.
- Level: To make sure your subfloor is flat.
- Utility Knife: Perfect for cutting vinyl or carpet tiles.
- Saw: For slicing through hardwood or laminate planks.
- Hammer and Nails: Essential for nailing down hardwood flooring.
- Trowel: For spreading adhesive on certain types of flooring.
- Spacer Blocks: These keep a small gap around the room’s edges for expansion and contraction.
- Adhesive: Depending on what type of flooring you’re putting in.
- Underlayment: This gives you a smooth surface and can add some insulation.
- Safety Gear: Gloves, goggles, and knee pads to keep you safe while you work.
Here’s a quick rundown:
| Tool/Material | Purpose |
|---|---|
| Tape Measure | Accurate measurements |
| Level | Ensure even subfloor |
| Utility Knife | Cutting vinyl/carpet tiles |
| Saw | Cutting planks |
| Hammer and Nails | Securing hardwood |
| Trowel | Spreading adhesive |
| Spacer Blocks | Allow expansion/contraction |
| Adhesive | Securing certain flooring types |
| Underlayment | Provides smooth surface and insulation |
| Safety Gear | Protects during installation |
With your subfloor inspected and your tools ready, you’re all set to start your flooring project. Need more tips? Check out our step-by-step guide and other home renovation tips. Looking for some inspiration? Dive into our DIY home renovation ideas. Happy renovating!
DIY Flooring Installation
Step-by-Step Guide
Tackling a DIY flooring project can be both fun and cost-effective, giving your home a fresh look without breaking the bank. Follow these steps to get it right:
-
Preparation
- Measure your space and figure out how much material you need. Add an extra 10-20% for mistakes and cuts.
- Gather your tools: measuring tape, utility knife, underlayment, adhesive, and the flooring itself.
-
Subfloor Check
- Look for any damage or uneven spots on the subfloor. You might need to patch it up to make it level (Today).
- Clean the subfloor thoroughly to get rid of any dirt or dust.
-
Acclimate the Flooring
- Let the flooring sit flat in the room where it’ll be installed for the recommended time. This is especially crucial for hardwood.
-
Plan the Layout
- Think about the direction of the planks or tiles, any patterns, and leave a small gap around the edges for expansion (Arko Flooring).
-
Install the Underlayment
- Roll out the underlayment and cut it to fit the room. This layer helps reduce noise and smooths out the surface.
-
Install the Flooring
- Follow the specific method for your flooring type:
- Laminate & Vinyl: Click-together planks are quick and easy. Start in one corner and work your way across.
- Hardwood: Nail-down or glue-down methods take longer but are very durable.
- Tile: Spread adhesive with a notched trowel and lay the tiles, using spacers to keep them even.
- Carpet: Use a carpet stretcher and tack strips to secure the carpet.
- Follow the specific method for your flooring type:
Common Mistakes to Avoid
Steer clear of these common blunders to keep your DIY flooring project on track:
-
Bad Measurements
- Accurate measurements are key. Messing this up can mean not enough material or too much waste. Double-check everything.
-
Skipping Acclimation
- Not letting your flooring acclimate can cause it to expand or contract after installation. Give it time to adjust to the room’s conditions.
-
Ignoring Subfloor Problems
- An uneven or damaged subfloor can ruin your new flooring. Fix any issues before you start.
-
Poor Layout Planning
- A bad layout can lead to ugly seams or gaps. Plan the direction and pattern carefully.
-
Not Leaving Expansion Gaps
- Failing to leave enough space for expansion can cause buckling or warping. Always leave a small gap as recommended.
For more tips on getting your home ready for new flooring, check out our articles on DIY home renovation ideas and easy DIY home renovations. If you need advice on decluttering before you start, visit DIY decluttering tips.
Wrapping Up Your Flooring Project
Final Touches
Congrats on getting your new floor down! Now, let’s add those little details that make a big difference.
-
Baseboards and Mouldings: Pop those baseboards and mouldings back on or swap them out for new ones. Make sure they’re snug and straight to give your room that finished look.
-
Thresholds and Transition Strips: Where your new floor meets other flooring, add thresholds and transition strips. This keeps things smooth and safe between rooms.
-
Cleaning and Polishing: Give your new floor a good clean. Depending on what type you’ve got, you might want to add a polish or sealant for some extra shine and protection.
-
Furniture Pads: Stick felt pads under your furniture legs to avoid scratches and dents. This keeps your floor looking fresh.
Keeping Your Floors Looking Good
Regular upkeep is key to keeping your floors looking sharp. Different floors need different care, so make sure you know what yours needs (Flooring America).
| Flooring Type | Maintenance Tips |
|---|---|
| Laminate | Sweep or vacuum often. Use a damp mop for cleaning but keep water to a minimum. |
| Tile | Sweep or vacuum to get rid of dirt. Clean with a tile cleaner or a mild detergent mix. |
| Vinyl | Sweep or vacuum regularly. Mop with a vinyl-specific cleaner. Avoid rough brushes. |
| Hardwood | Sweep or vacuum with a soft brush. Use a wood floor cleaner. Stay away from water and steam cleaners. |
Jump on spills right away to avoid stains and warping. Keep an eye out for wear and tear and fix things as needed.
For more tips on keeping your floors in top shape, check out our guides on diy bathroom renovations and diy kitchen renovations.
By nailing these final touches and sticking to a good maintenance routine, your DIY flooring project will not only look awesome but also last a long time. For more home improvement ideas, take a peek at our articles on diy home renovation ideas and diy home renovation on a budget.

